
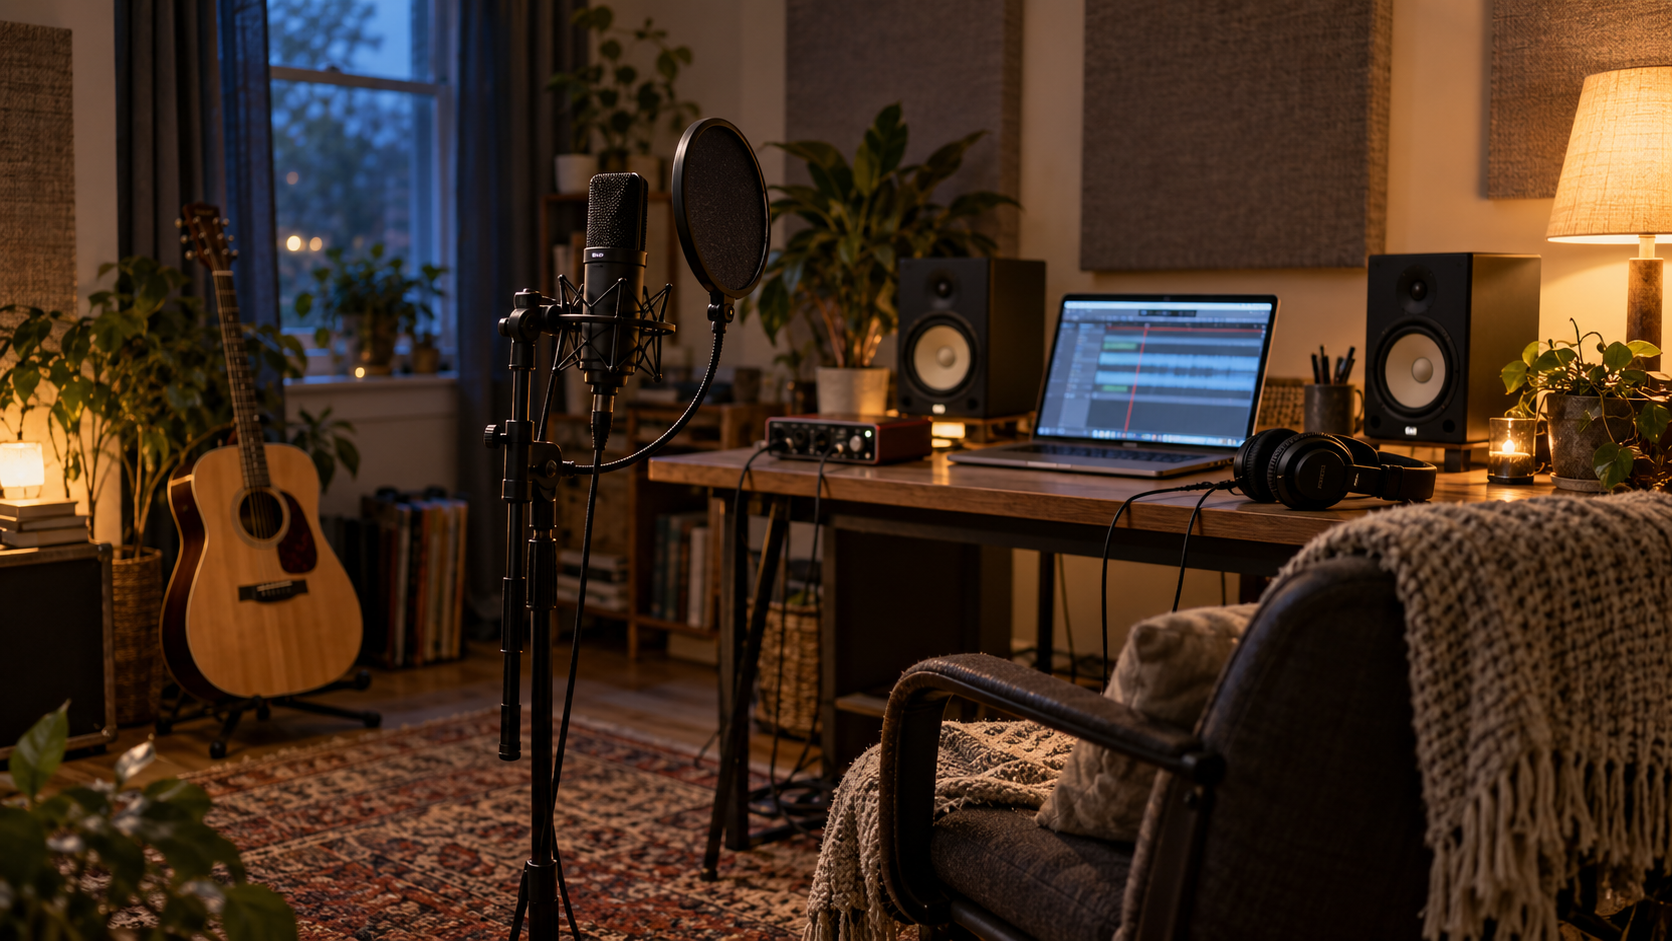
Learn the home studio mistakes to avoid, from noisy rooms and vocal clipping to too much reverb, with practical fixes for better home recordings.
You have a song you want to record, a microphone ready to go, and a room that doubles as your studio. Then you play back the first take and hear something you weren’t expecting: a boxy vocal, a distracting hum, or lyrics disappearing under the backing track.
Before you buy another piece of equipment, it helps to understand the home studio mistakes to avoid. Small changes to your recording space, microphone technique, and mixing routine can make a meaningful difference.
This guide focuses on practical fixes for singers, songwriters, and independent artists recording at home. Whether you’re making an acoustic song, a pop ballad, or a fast rap verse, the goal is to capture a performance people can connect with.
1. Buying new gear before identifying the problem
When a recording disappoints you, upgrading your microphone or buying a vocal preamp can feel like the obvious next step.
First, describe what you actually hear. Is there room echo? Distortion on louder notes? A vocal that sounds clear alone but disappears when the instruments come in?
Try recording a short test with your existing setup. Change one thing at a time so you can hear what helps.
If you’re considering an upgrade, my guide to the best vocal preamps for singers can help you think through your options. Make the purchase solve a specific problem.
2. Ignoring the sound of your room
A microphone captures your voice along with the space around it. Reflections from bare walls and other hard surfaces can color a vocal recording, while appliances and outside noise can interrupt an otherwise good take.
Listen to a dry recording—without added effects—before you start mixing. If you hear unwanted reflections, experiment with your position and absorptive materials such as thick curtains or suitable acoustic panels.
Remember that acoustic treatment and sound isolation do different jobs. Treatment controls reflections inside a room; isolation reduces sound entering or leaving it. Putting foam on a wall won’t make a room soundproof.
Record at a quieter time when possible, and keep noisy equipment away from the microphone.
3. Setting your recording gain too high
A louder recording isn’t automatically a better recording. Too much input gain can cause clipping and harsh distortion, particularly when a quiet verse turns into a powerful chorus.
Before recording, perform the loudest part of the song at the intensity you expect to use. Watch your interface and recording software’s input meters, then lower the gain if the signal clips. Leave room for unexpected peaks.
If you need to hear yourself more clearly, adjust your headphone mix or monitoring volume instead of turning up the microphone input.
Check the level again after warming up. Set the gain for the performance you’re about to give, rather than a quiet microphone check.
4. Using inconsistent microphone placement
Moving toward and away from the microphone throughout a take can change your vocal tone and level. Getting too close may exaggerate bass and mouth sounds; standing too far away can make the recording feel distant.
Use your microphone manufacturer’s placement guidance as a starting point. Record the same phrase at a few distances and angles, then listen for the clearest, most balanced result.
A pop filter helps reduce bursts of air on sounds like “p” and “b.” A slight change in microphone angle can also help with troublesome consonants.
Once you find a position that works, make it easy to repeat for doubles, harmonies, and replacement lines.
5. Recording with an uncomfortable headphone mix
It’s difficult to give a confident performance when the backing track overwhelms your voice or you hear your vocal arriving late.
Use closed-back headphones to help limit playback leaking into the microphone, and balance the backing track so you can hear your pitch and phrasing.
If you hear a distracting delay, check your monitoring setup. An interface’s direct-monitoring feature can let you hear the input with very little delay. Avoid listening to both the direct signal and the delayed software signal at once, which can create a doubled sound.
Record a short test before a full take. Your headphone mix should help you perform comfortably.
6. Adding plugins without a clear purpose
An EQ, compressor, de-esser, saturator, and several effects might all have a place in a vocal mix. They don’t all need to appear on every recording.
Before adding a plugin, name the job you want it to do. Are you controlling uneven levels, reducing harsh consonants, or creating a deliberate texture?
Make the adjustment, then bypass the plugin and compare at a similar perceived volume. Keep it if it improves the sound or supports the creative direction.
A preset can be a starting point, but listen to what it does to your particular voice.
7. Letting reverb swallow the lyrics
Reverb can add atmosphere, but too much can make a vocal feel distant or blur the words. That matters when the emotional weight of a song depends on a quiet line—or when a fast verse needs clear delivery.
If the lyrics become harder to understand, lower the reverb level or shorten its decay. You can also experiment with pre-delay: the gap between the dry vocal and the start of the reverb.
Using reverb on a separate send lets you adjust the effect independently of the main vocal.
Judge the result with the full arrangement playing. Listen through the busiest section, where overlapping notes and words can reveal problems.
8. Making every decision with tracks soloed
A guitar can sound full and beautiful on its own, then compete with the vocal when the whole song plays.
Use solo to investigate a noise or edit. For most balance and tone decisions, bring the other tracks back in. A sound that seems a little lean alone may fit perfectly into the arrangement.
Listen for the job each part is doing. If a guitar fill covers an important lyric, try lowering it during that phrase before adding more processing to the voice.
The listener hears the song as a whole. Let that guide your decisions.
9. Mixing loudly for too long
Turning up the volume can make a mix feel exciting, but listening level also changes how you perceive the balance of bass, midrange, and treble.
Work at a comfortable, reasonably consistent level, and take breaks. Briefly check the song at a lower volume to hear whether the vocal and main musical ideas remain clear.
If you keep making a mix brighter or louder without feeling satisfied, save a version and step away. Return with fresh ears before committing to another round of changes.
10. Skipping reference tracks and playback checks
Choose a well-produced song with a similar arrangement or vocal style, then compare it with your mix at a similar perceived volume. Otherwise, the louder track can seem better simply because it’s louder.
Focus on one relationship at a time: the vocal against the instruments, the amount of bass, or the space around the lead.
Next, check your export on headphones, speakers, and another familiar playback system. Each can reveal different balance problems. A phone speaker is useful for checking lyric clarity, but it can’t tell you everything about deep bass.
If you’re choosing speakers, my guide to the best studio monitors for vocalists covers options and setup considerations.
11. Editing the emotion out of a performance
Timing and pitch edits can help a vocal, but correcting every small variation can change its character.
Start with the strongest overall performance. Replace weaker phrases where needed, and listen to edits with the backing track. Use the song’s groove to judge timing instead of moving every word to a grid.
A breath before a difficult lyric or a slightly delayed phrase may be part of what makes the delivery convincing. Listen for whether it serves the song.
For intimate vocals especially, leave room for the performance to feel human.
12. Saving the project without protecting its audio files
Saving a project file doesn’t necessarily collect every recording and sample it uses.
Keep the project and its audio organized together, save clearly named versions, and make a separate backup after a session. Before relying on that backup, check that it opens with the required audio.
In FL Studio, File → Export → Zipped loop package can bundle the project with its samples. Plugin availability still matters when reopening it on another computer, so also keep useful audio exports of important parts.
A finished stereo mix is worth saving, but keep the recordings and project too so you can revise the song later.
A quick checklist for your next home studio session
Before recording:
- Listen for background noise and unwanted room reflections.
- Test the loudest section and check your input level.
- Set a repeatable microphone position and use a pop filter.
- Make sure your headphones let you hear your voice comfortably.
- Check for distracting monitoring delay.
Before calling the mix finished:
- Check the lyrics through the busiest section.
- Compare with a suitable reference at a similar volume.
- Listen on more than one playback system.
- Save a new version and back up the project with its audio.
For a broader look at the equipment involved, visit my home studio setup for singer-songwriters.
Common questions about home recording
Why do my vocals sound good alone but get lost in the mix?
The instruments or effects may be covering them. Start by checking the vocal level, then listen for competing parts and excessive reverb. Adjust the surrounding arrangement as well as the vocal.
Can I mix music using headphones?
Yes. Learn how familiar songs sound on your headphones, use reference tracks, and check your mix on other playback systems when possible. Headphones and speakers present space and tonal balance differently.
What should I fix first in my home studio?
Start with the earliest problem in the process: unwanted noise, room reflections, clipping, or an inconsistent recording. A cleaner source gives you more useful choices when it’s time to mix.
Give the song room to connect
Knowing the home studio mistakes to avoid gives you a practical place to start when a recording doesn’t sound the way you hoped. Choose one issue, test a change, and listen for the difference.
For me, production should support the feeling behind the words. That’s what I’m working toward in my own music as N!CØLE, whether a song needs intimacy, tension, or a little bite.
You can listen to my music here.